【git】vscode写md发布到github上的blog(我当前的blog方式)
用vscode的三个插件写md。发布到github的blog
user vscode edit Github blog(write Github blog with vscode markdown plugins (Paste Image,Markdown All in one , markdown preview enhanced))
1,Create a Github blog
- search “Jekyll Now” repository in Github.
- fork to your repository
- edit _config.yml
- name 随意
- description 随意
- add .md file to _posts
- filename must YYYY-MM-DD-title.md
- access your github blog
- Repositories → 选择你的repository → setting
- rename 必须是你的github的用户名,否则你的重新编译。
- (查看github用户名方法:右上角图标→Signed in as就是)
- setting页向下拉“GitHub Pages”有blog链接
2, 编写md
- 编写好的md放到_post/目录,可以创建子目录,只要文件名字系的符合要求就行
- md所用到的文件放到/images/下
- 本地vscode编写md,里面的图像文件需要注意一下。
vscode 写md
git clone到本地
进入到项目根目录,右键vscode打开
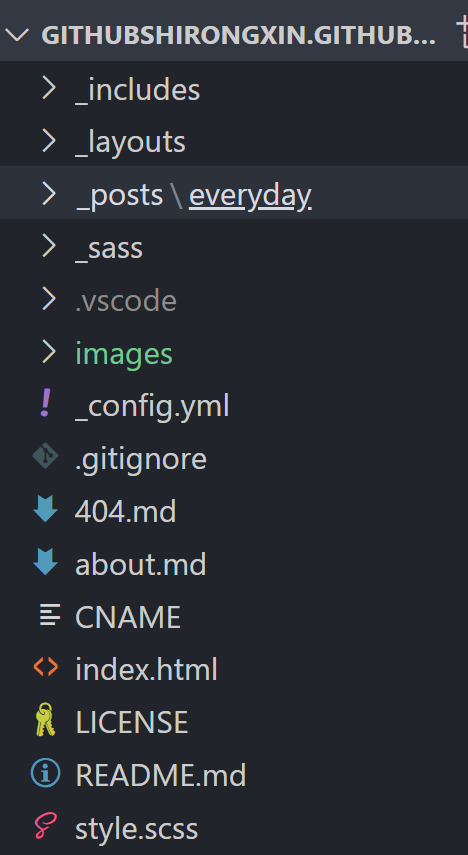
目录结构:

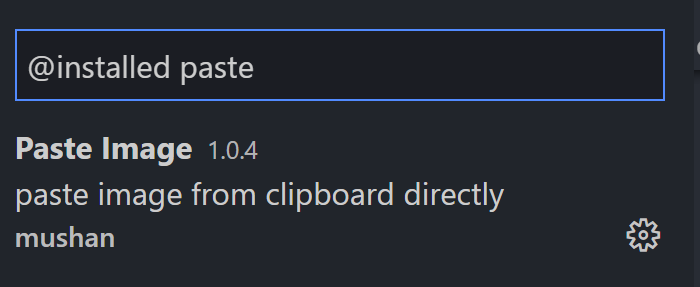
vscode 安装插件
- paste image
- markdown all in one
- markdown preview enhanced
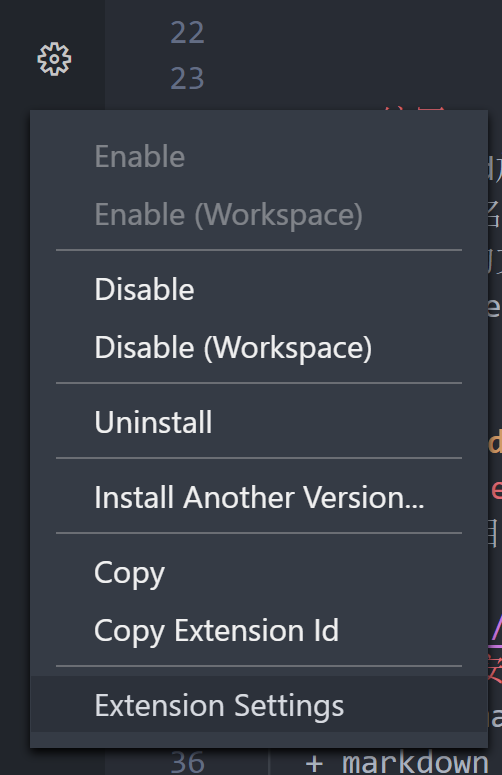
配置paste image插件
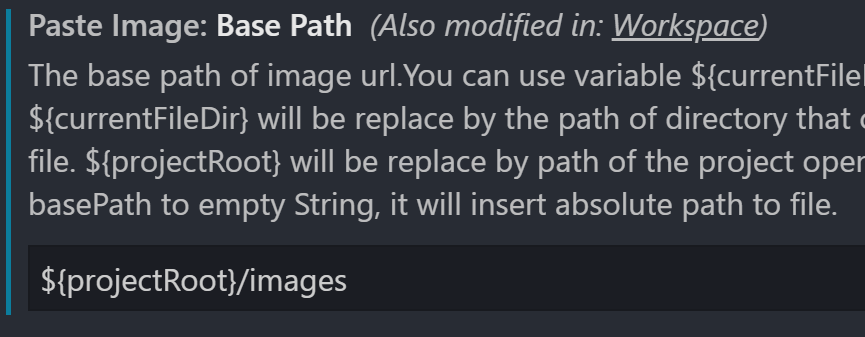
让截图生成到/images/下面
md里图片的代码
这样就能很方便的用git直接传到github,而不用修改md的图片路径了。
注意:
这里的${projectRoot}指的是vscode在哪打开,你在哪右键打开,${projectRoot}就是哪 因为我们想把图片放到githubshirongxin.github.io/images/ (这个images目录与_post目录同级) 所以我们每次应该在githubshirongxin.github.io/下 右键打开vscode!切记


编写md
略
确认preview
点击下图的  图标
图标

vscode的右半部会显示md的预览
确认github blog
https://githubshirongxin.github.io/
每张图都显示了。
最后,GIT上传所有图像和md文件
Written on June 25, 2020
